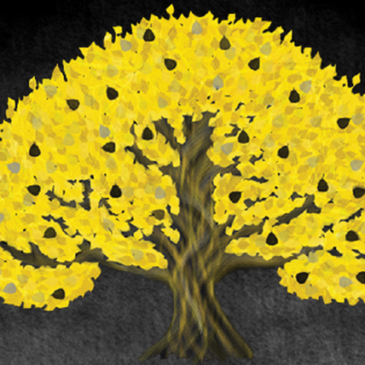
The other day I was doing a project for a client and he wanted a large order of color changes for his logo. Usually I eyeball the image and use the Hue/Saturation tool and merge layers, but he wanted an exact pallet and there were many color changes so I hit the internet. It wasn’t long before a video tutorial popped up about the color replacement tool.
The color replacement tool is a tool that allows you to select the original color and the color you would like to change the image into by using a brush and brushing it on.
A complication that I ran into at first was that tool was replacing the main color and applying grey instead of the desired color onto the logo.
To fix this problem I discovered that when applying the tool, the setting on the top left needs to be set to color and then the tool can be applied. Problem solved!
Another thing to watch out for when applying the tool is to make sure that all of the edges are covered. An easy way to do this is to change the background color and anything that isn’t the desired color will show up.
It’s a fairly simple, but effective tool that can be used in numerous ways. For example you can change the output from color to luminosity and you can end up with some wild color changes. Different patters such as stripes and spray paint patterns can be applied if one were to play with the output settings and then brush on the colors for the desired effect.

